How to Create a Carnation Garland
Follow along for step by step instructions on how to make a beautiful carnation garland! This is a quick and easy project that requires minimal supplies. These would be a lovely addition to any event, from birthday parties to bridal showers, the possibilities are endless, and so are the color variations!
This project is a bit time consuming, so make sure that you have lots of help to make it (it’s so easy though that anyone can do it, you don’t need to be a florist!) I love using carnations because they are so hardy, so even though there is no hydration source, the carnation garland will easily last for a few days. If you want to mix it up, you can really create this with any flower (although I would avoid really delicate flowers like ranunculus)
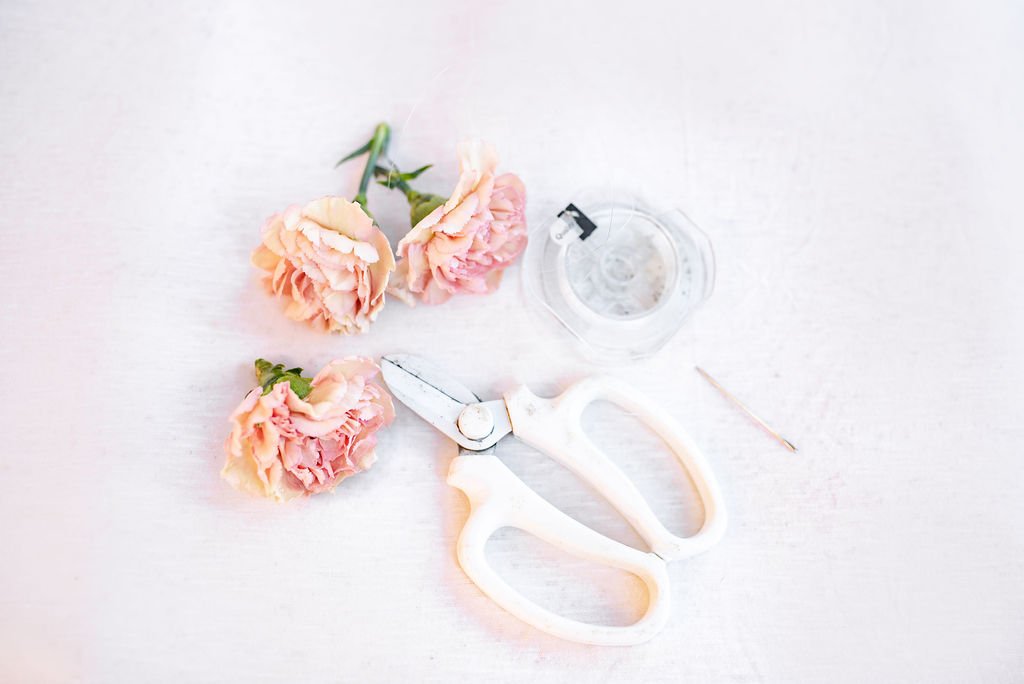
Supplies needed:
- Embroidery needle
- Embroidery thread or fishing line (fishing line is semi transparent so you might want to use this if you don’t want to see the thread)
- Clippers or scissors
- Carnations
Step 1: Prep the Carnations
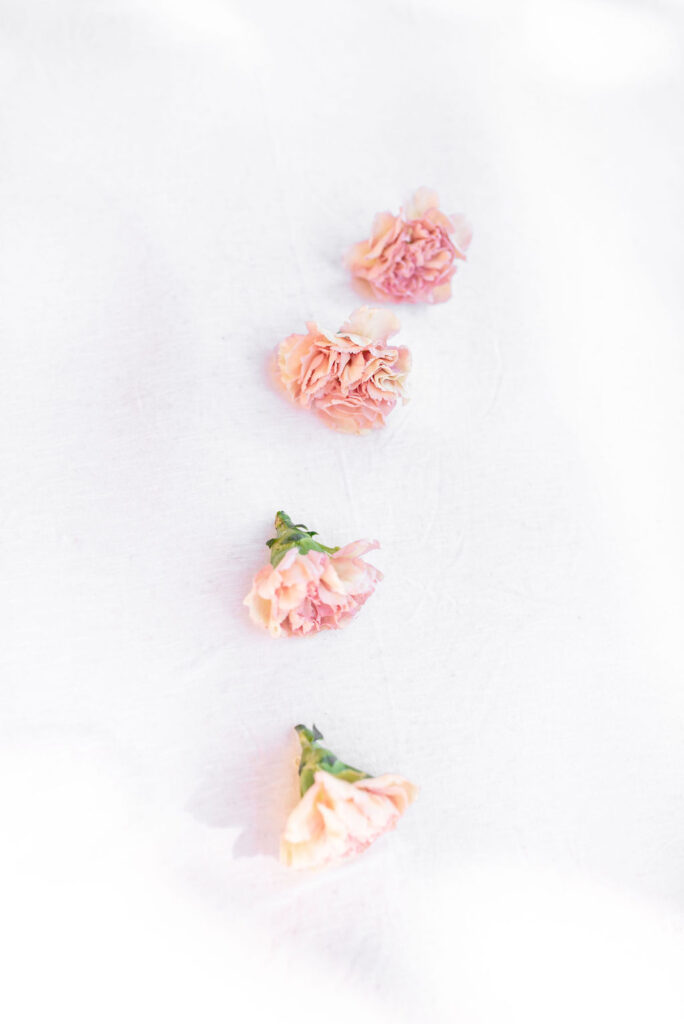
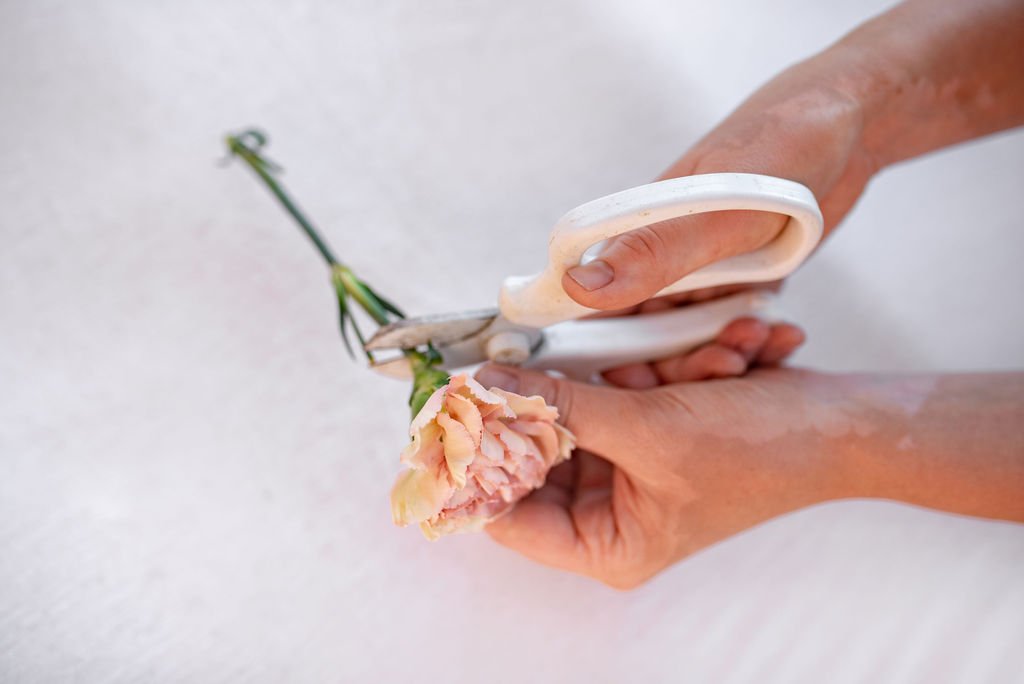
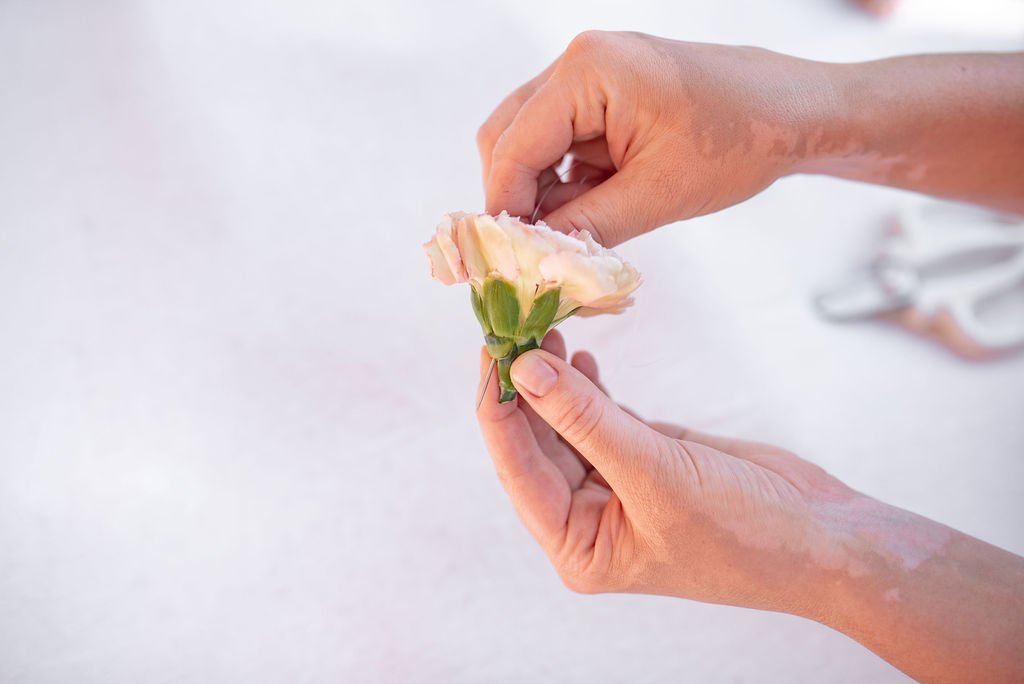
- Start by preparing your carnations. You want to cut at the base of the stem but leave the thick green part (called the sepal) to keep the petals together.
- Separate carnations by colors if you’re doing a pattern, as this will make assembly easier.
Step 2: Prep your String
- Unspool your string and measure it out. If you leave the string too long it will take you forever to thread each carnation so try to measure it out to your desired length, making sure to leave about an extra 5 inches for a tail at the end and to accommodate knots.
- I find it easier to work with smaller pieces of twine so they don’t get knotted and tangled, and then just add on length if I want my garland to be longer.
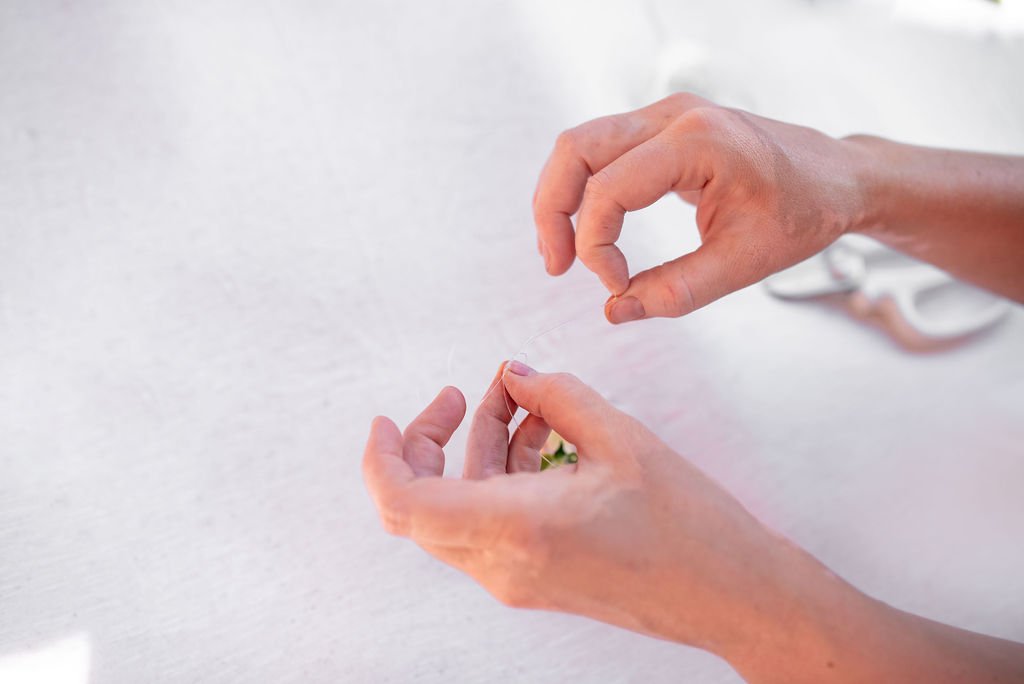
Step 3: Thread the Needle
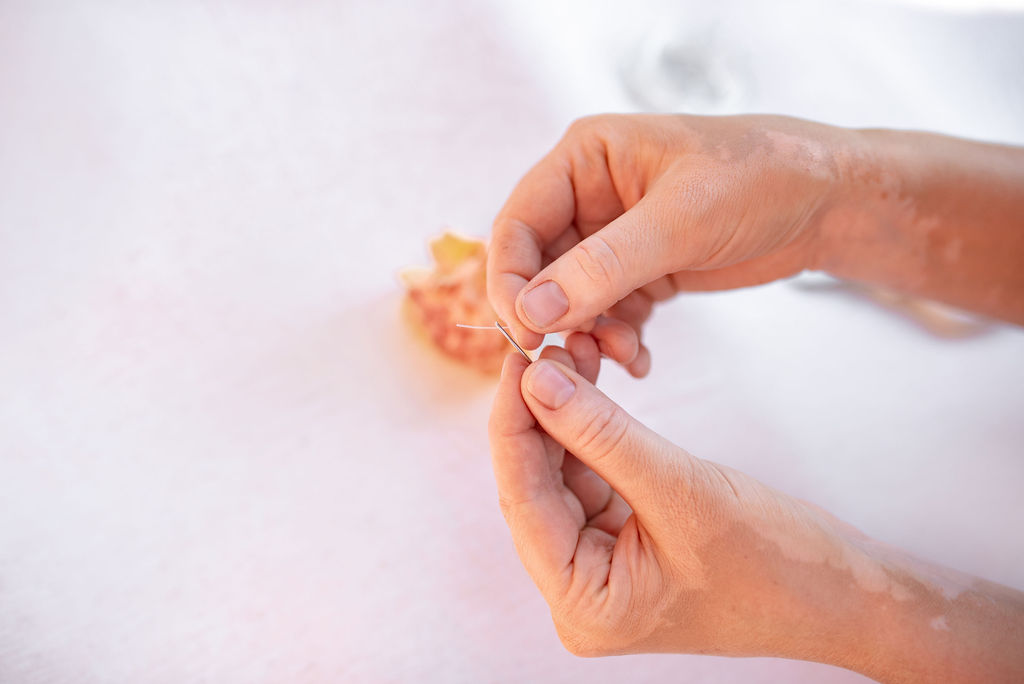
Thread your needle leaving a 3–4-inch tail. Then tie two or three knots at the opposite end of your string. These will ensure your carnations stay in place.
Step 4: Attach the Carnations and Build the Garland
- Before threading you can help open the petals by turning the flower upside down and gently rotating the petals on a flat surface a few times. This will help fan out the petals giving the garland a fuller look.
- Start threading your carnations by poking the needle and thread through the base of the carnation (do this at a bit of an angle to keep it more secure)
- Pull down to the knots at the end of your string.
- You can place the carnations close together or spaced out like I did here. If you’d like them spaced out, after each carnation tie a little knot where you want it to sit. You can eyeball it or use a measuring tape to ensure even spacing.
Step 5: Finish Your Arrangement
For the last carnation, you want to thread it upside down to give it a nice finish (through the stem and out the flower side but a bit off center) and then tie off the end. Voila, you’ve completed your very own Carnation Garland! Good job!
Tips: If you run out of string, don’t fret – you can simply tie more onto the end if needed. I’d suggest assembling your carnation garland 24-48 hours in advance. Carnations last longer than a lot of flowers so they’ll be fine for a couple days, but after that they’ll start to soften and petals will begin to brown. Keep your garland in a cool dry location, preferably a fridge (avoid fridges with excess moisture or fruit as these will enhance aging of the blooms). You can also lightly mist the carnation garland with water to help with hydration, or apply a floral preservative like Crowning Glory to help keep it looking perky.
