Flower 101: How to Unpack your DIY Flowers

So you’ve decided to DIY your wedding flowers (yay – you’re going to do great!). Your blooms need a bit of tender loving care once they arrive, follow these easy steps and you’ll be on your way! Unpacking your DIY flowers is like opening a treasure chest filled with beauty. Here’s a guide to ensure you handle them with care to make sure they have a long life span and make your floral wedding dreams come true! So now you’re ready…you’ve got some good tunes on, you’ve got your crew, and you’ve got snacks. It’s now time to get down to business.

Step 1: Be Prepared
This step truly happens before the flowers arrive, you’ll want to make sure you have reserved yourself enough time to process the flowers (it generally takes about 1-2 hours for a regular wedding sized order) and that you have all your supplied ready and organized. The supplies you’ll need to process your flowers are:
- Pruners (not scissors)
- Buckets (We suggest bathroom trash cans and put a max of 3 bunches of flowers per garbage can to make sure they aren’t crowded, so you’ll need a lot of buckets)
- Spot to put your compost from processing all the flowers
- Misc supplies if you’re making boutonnieres (e.g. floral tape)
Step 2: Unpack Your Flowers
- Once you’ve got your flowers delivered, unpack the flowers as soon as possible. Delaying could affect their freshness and longevity.
- Count the bunches as you are pulling them out of the box to confirm everything is there that you’ve ordered.
- If you ordered roses, note that they are packed in two layers to ensure protection during shipping. From the top angle, it will appear that you only have 12 rose stems in the bunch; however, below this layer, there is a second layer containing the rest of the roses.
- As you unpack each bundle, inspect them closely. Look for signs of damage, wilting, or discoloration and get in touch with us right away if you have any concerns and we’ll get in touch right away!

Step 2: Snip the Ends
- Using floral shears, trim the stems of the flowers at an angle. This creates a fresh cut, allowing the flowers to absorb water more effectively. Don’t use scissors as they aren’t sharp enough and can crush the stems of the flowers slightly (making it difficult for the water to travel up the stem). We usually trim about 1 ” off the ends of the stems.

Step 3: Remove Foliage
- Some flowers will have lots of foliage on the stem, remove any that falls below the waterline of your containers. When removing foliage, be very careful and gentle to not damage the stem.
- Removing any foliage that falls below the waterline will help prevent the growth of mold or bacteria which could cause premature wilting.

Step 4: Hydrate
- Hydrating your flowers is the most important, super key, integral, non-negotiated step (am I articulating the importance well enough?). If you don’t have time to do anything else, just make sure they get in water right away. Trust me, your flowers will thank you.
- Allow flowers at least 4 hours to hydrate before you start arranging. Make sure everything has elbow room – no crowding. Periodically check the water levels, flowers drink a lot of water when they first arrive and the water may need to be refilled
- If you ordered roses, leave them in their cardboard packaging while they hydrate. You can watch our video on how to process roses and get the visual on exactly what to do!

Step 5: Remove the guard petals (only applicable to roses)
- We ship our roses with guard petals intact to protect the roses while traveling. These petals might cause the rose to look distorted, discolored, and/or bruised.
- You’ll need to remove all the guard petals (carefully pinch them off) to reveal the pristine quality rose bloom!
General Tips
Here are some general tips for prepping and storing flowers that are applicable in all circumstances.
Tip #1: Provide Support
If your DIY order includes taller stems or delicate blooms (e.g. scabiosa), provide additional support to prevent them from bending or drooping during storage. You can use tissue paper to gently cushion and secure and support the stems, and also make sure the vase or storage container is tall enough that the stems have support while they are being stored before you arrange them.
Tip # 2: Make Sure Your Vases are Clean
Until you arrange your flowers, they’ll need to be stored in vases or containers to hydrate them and store them until you’re ready. Fill them with clean, fresh water and make sure the containers are clean. Dirty containers cause bacteria to form, which will make your flowers sad 🙁
Tip #3: Store your Flowers in the Right Container
When it comes to storing your flowers before you arrange them, the container matters. Opt for a clean vase or vessel that provides ample space for the blooms without overcrowding. Make sure the container is sturdy and stable to prevent any accidental spills or damage to the flowers.
We often use bathroom trash cans from the dollar store, and will put a maximum of 3 bunches of flowers per garbage bin… so you’ll need quite a lot! Greenery is less sensitive to crowding than flowers are, so you can even use a large tupperwear container, and store 6-ish bunches of greenery in it. 5 gallon buckets aren’t ideal, they are so tall that they can cause your flowers to smush against the side of the plastic pail.
For really delicate flowers (e.g. ranunculus/anenome), store them in their own dedicated container to prevent them being crushed or smushed (I like to use plastic pasta storage containers from the dollar store).
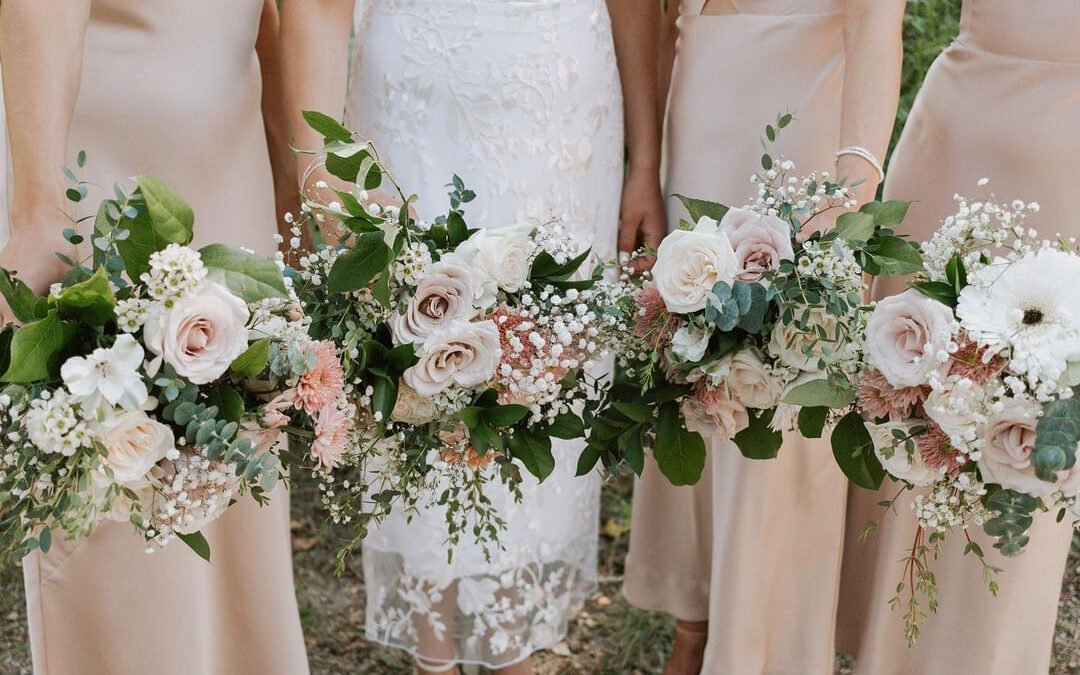
Credit:
Photography by https://jenniferrapkinsphotography.ca/
Florals by https://www.youfloral.ca/