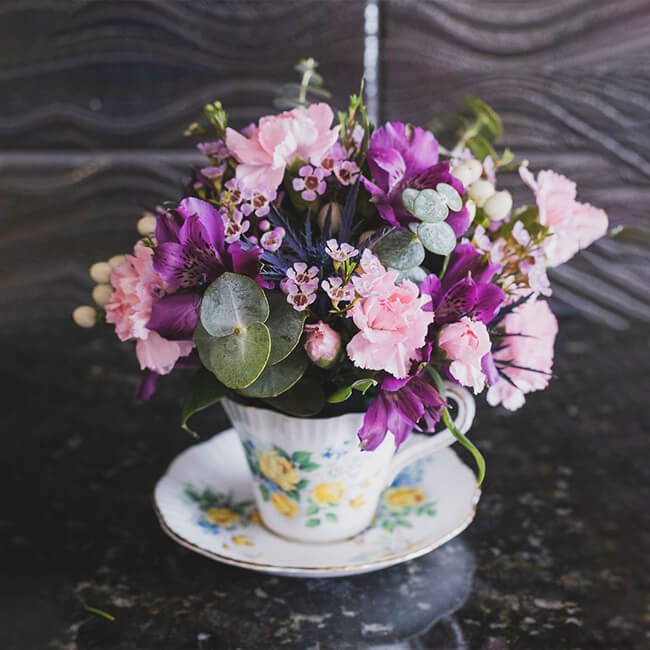
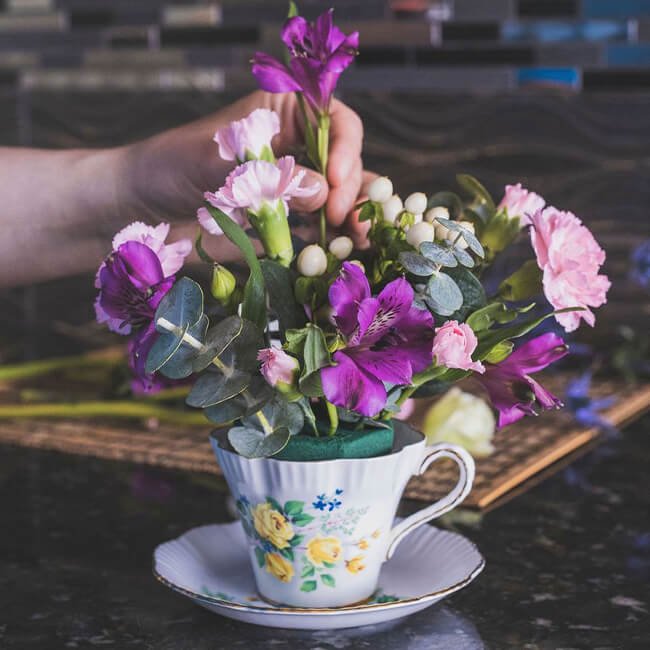
With Mother’s Day coming up soon, I thought I would share a cute and fun DIY project, perfect for mom! I am a huge fan of thrifted items, so hit up your local store, find a cute tea-cup, grab some flowers (we have a great selection @ www.youfloral.ca) and get artistic! We love seeing what you create, so tag us on IG @_youfloral.
Happy Mother’s Day!
Sarah
Step 1: Trim up your flowers:
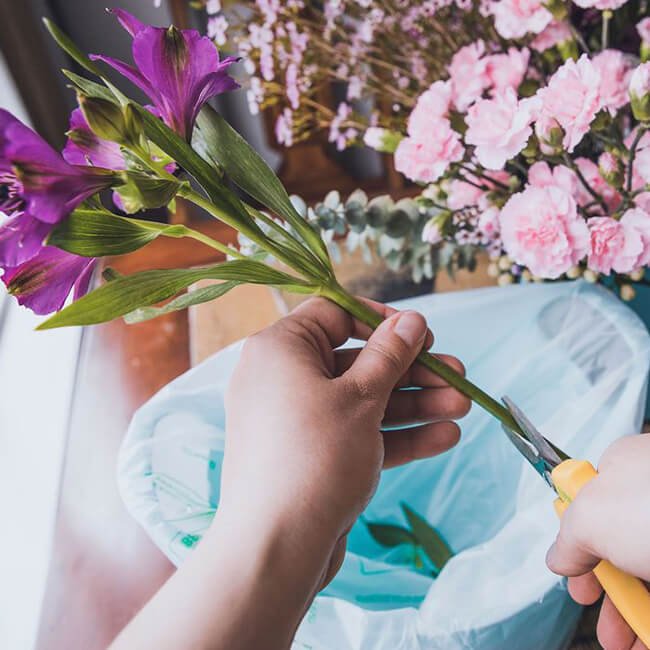
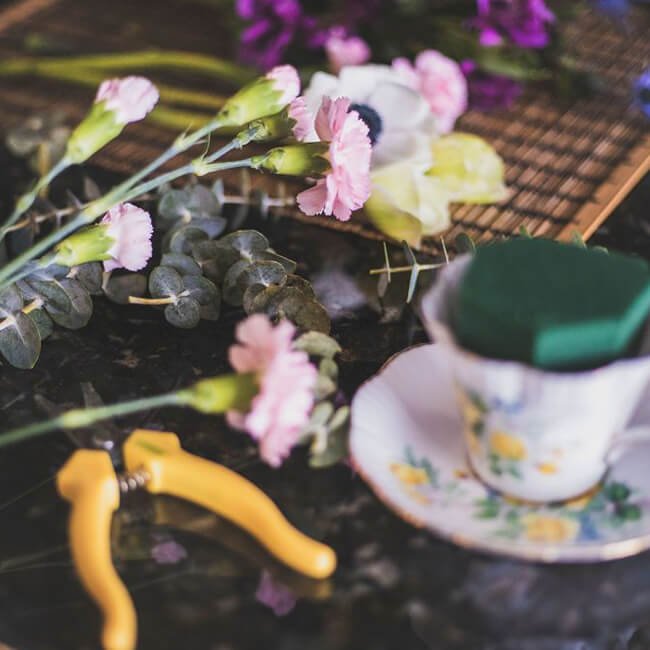
- With any fresh flowers, you’ll want to cut the ends at an angle using pruners as soon as you get them, and place them into clean, cool water.
- Before you put your flowers into the arrangement you’ll want to shorten them, keep in mind… you can always cut them shorter, but can’t re-grow them!
Step 2: Gather your supplies:
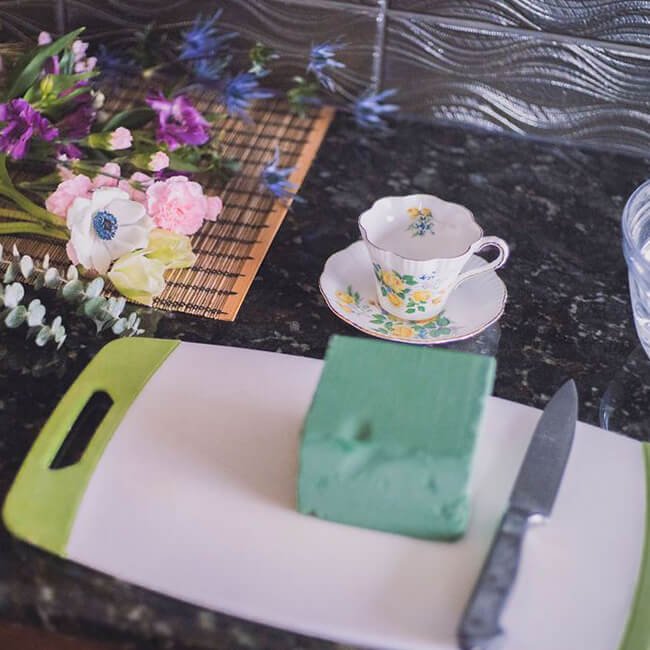
- To do this project, you’ll need some supplies!
- Pruners (don’t use scissors, they crush the capillaries of the flowers)
- Floral foam (check out Walmart, your local dollar store, Michaels, or Hobby Lobby)
- Container (for water)
- Teacup (check out thrift stores)
- Bulk flowers, we used:
- Alstromeria
- Hypericum
- Mini carnations
- Waxflower
- Baby blue eucalyptus
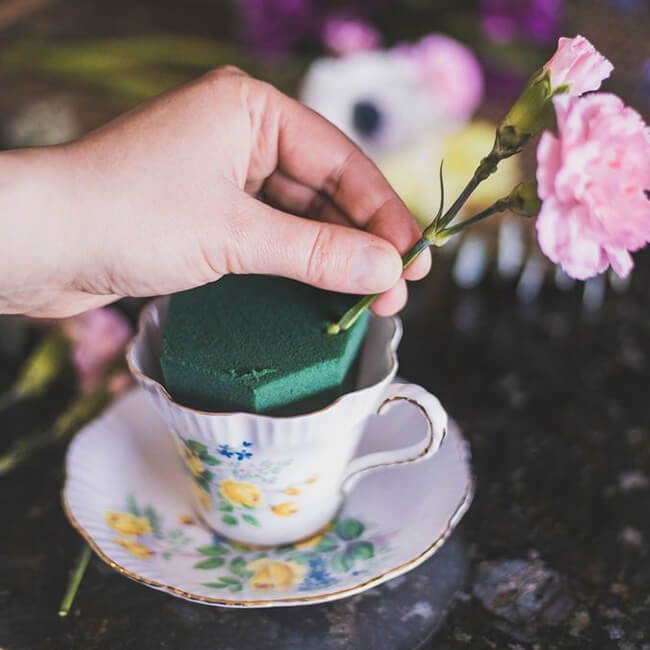
Step 3: Prep your floral foam
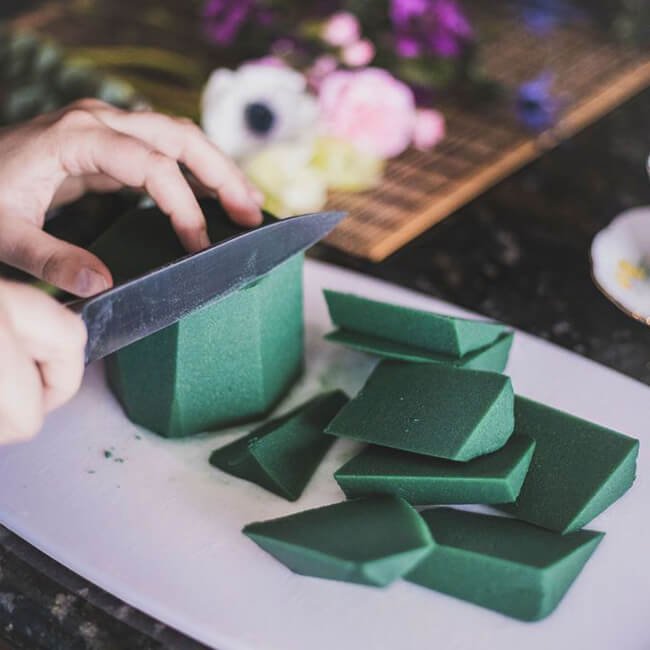
- Using a sharp knife, cut the floral foam so that it fits into the teacup.
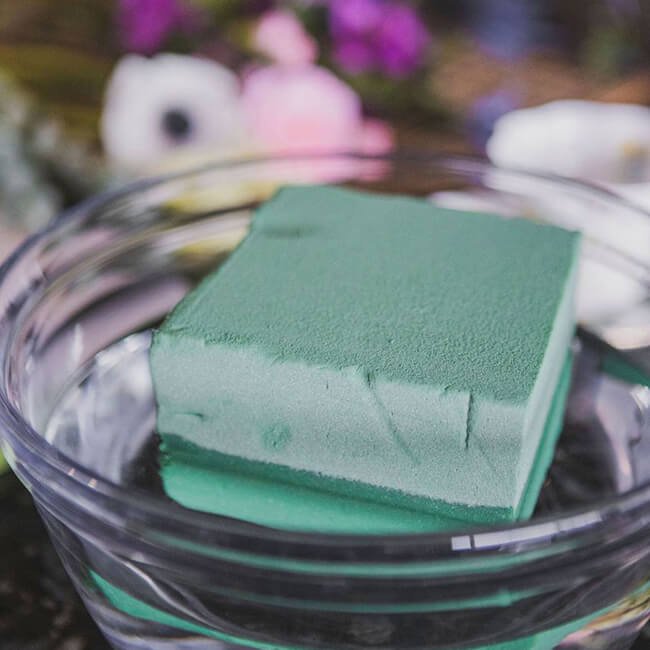
Step 4: Soak your floral foam
- Put your floral foam into a container of water, IMPORTANT – let the foam sink on its own, don’t force it… it needs to uptake the water at its own pace!
Step 5: Visualize what you’re about to do!
- Now that your foam is sized, soaked, and in the tea-cup, its time to start thinking about how you want to get arranging. I always like to visualize and think about things before I get going.
Step 6: Get started!
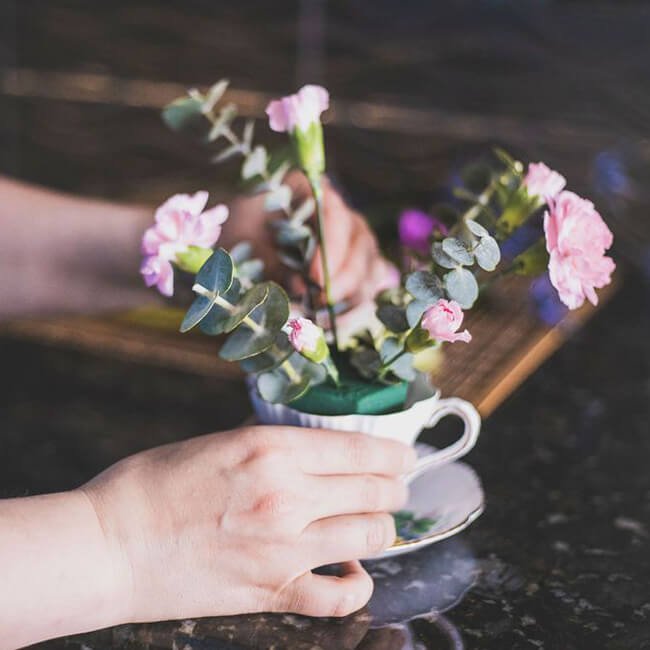
- Its now time to get started on the fun part… adding in the flowers! Place flowers at an angle, so that you get a nice rounded appearance by the end.
Step 7: Keep going
- Keep adding in flowers, use differing heights to give visual appeal and variety. You’ll want to remove any leaves on the bottom of the stem, errant leaves make it hard to stick the stem into the foam.
Step 8: You got this – keep on doing it!
- Keep adding in flowers until you think its good, you’re the artist
Step 9: You’re done!
- Wahoo you did it, nice work! Your mom is going to love it, and we hope you had fun making it!

