How to Make a DIY Boutonniere | Step-by-Step Guide for Weddings & Events

Creating your own wedding boutonniere is easier than you think! Whether you’re planning a rustic, elegant, or boho-style event, a DIY boutonniere adds a personal and memorable touch to your special day. In this guide, you’ll learn how to make a boutonniere step-by-step with easy-to-follow instructions. Plus, it’s budget-friendly and fun to create!
🌿 What You’ll Need
- 1–2 focal flowers (e.g. spray rose, mini carnation, ranunculus)
- Accent greens (e.g. Italian ruscus, parvifolia eucalyptus)
- Optional: accent blooms or dried elements (e.g. waxflower, bunny tails)
- Floral tape (use a waxed tape, that isn’t sticky until you stretch it, and perfect for making boutonnieres)
- Floral wire (optional, for extra support particularly if you’re using ranunculus, which can be very top heavy)
- Ribbon or twine, depending on your vibe
- Scissors or floral snips
- Corsage pins
- Boutstix (optional, but I really love these because they make it so no holes get in your suits, and the rigidity of the magnet makes it so the boutonniere is easier to build)
✂️ Step-by-Step Instructions
1. Choose Your Flowers
Select a small focal bloom and complementary greens or fillers, the key is to keep the boutonniere petite, you’ll want to make sure it’s proportional for the lapel.
For greenery, italian ruscus or parvifolia eucalyptus are my favorite. Their leaf size is small, which lends itself well to a boutonniere. Some folks like using silver dollar eucalyptus, but I find the leaf size a bit large for my liking).
For flowers, I like to use spray roses personally, I think their size is a great compliment to a suit and since a stem has multiple blooms on it, you’ll save money by not requiring as many stems of flowers (e.g. 2 stems of spray roses could easily do all your wedding party boutonnieres)
Some folks like to do big splashy boutonnieres, while others prefer a simpler, more muted design, like this one, which uses parvifolia eucalyptus, waxflower, and baby’s breath.

2. Prep Your Stems
Trim stems to 2–3 inches, remove excess leaves, and strip petals or thorns near the base. I always make my bouquets first when flower arranging, and any small pieces, or pieces that break off – I keep them in a discard jar, specifically for making boutonnieres. You don’t need a lot (especially of greenery), so usually the discards are enough. The exception is the focal flower, make sure you order enough flowers so you have a focal flower for each boutonniere.
3. Arrange the Boutonniere
Start with greenery, layer in your focal flower(s), and finish with accents. You’re essentially making a miniature bouquet.
4. Wrap With Floral Tape
Tightly wrap floral tape around the stems, starting just below the bloom. Stretch the tape as you go to activate the adhesive.
5. Add Ribbon or Twine
Cover the floral tape with ribbon or twine. Secure with glue or tie neatly in place.
6. Store Safely Until the Big Day
A hydration chamber is a simple way to keep your boutonniere fresh before your event. To make one, place a lightly damp paper towel at the bottom of a sealed Tupperware container. Rest the boutonniere onto the paper towel, close the lid tightly and store it in the fridge or a cool, dark place. This creates a humid environment that helps preserve the flowers’ freshness until you’re ready to use them.

💡 Pro Tips for DIY Boutonnieres
- Use sturdy flowers like spray roses or mini carnations for best results (flowers like anenome are very delicate and aren’t the best choice for a boutonniere).
- Insert floral wire into delicate blooms (like ranunculus) for added support.
- Prepare boutonnieres the night before or morning of the event.
- Store in a cool, humid environment for freshness — ideally, the fridge.
- Coordinate boutonniere styles with your wedding theme and party outfits.
Tips for Making a Unique Boutonniere
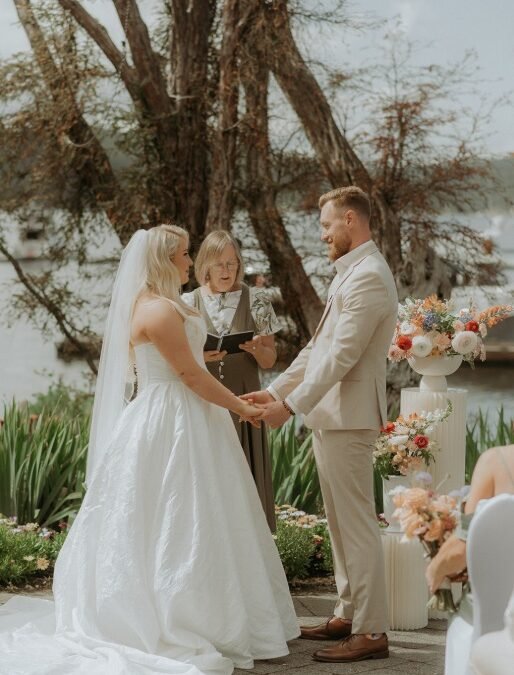
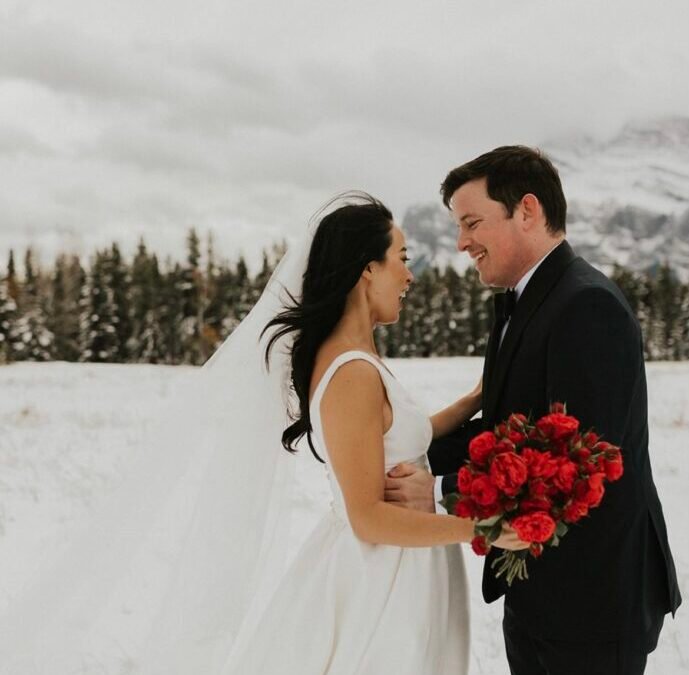
If the classical boutonniere isn’t your style, you could do a unique boutonniere like the two photos posted below. One groom opted for a rattan wreath accented with flowers to adorn his lapel, and the other did a pocket square boutonniere (which are super popular these days!


DIY wedding flowers are a meaningful way to add your personal touch to your big day — and boutonnieres are no exception. With a few simple supplies and a little creativity, you can craft something truly special. Need flowers or tools? Visit our DIY floral shop or explore our video tutorials for even more guidance!